The New World of Inline Editing
The Classic Editor is dead.
You may be used to editing within a Rich Text Editor in past versions of WordPress or other Content Management Systems. That editor is known as the “Classic Editor” and it is being phased out. You will primarily be editing content within the Gutenberg Block Editor environment moving forward. However, some custom features (e.g. Scholarships, People…) may still use Classic editors for some of their custom post-type fields.

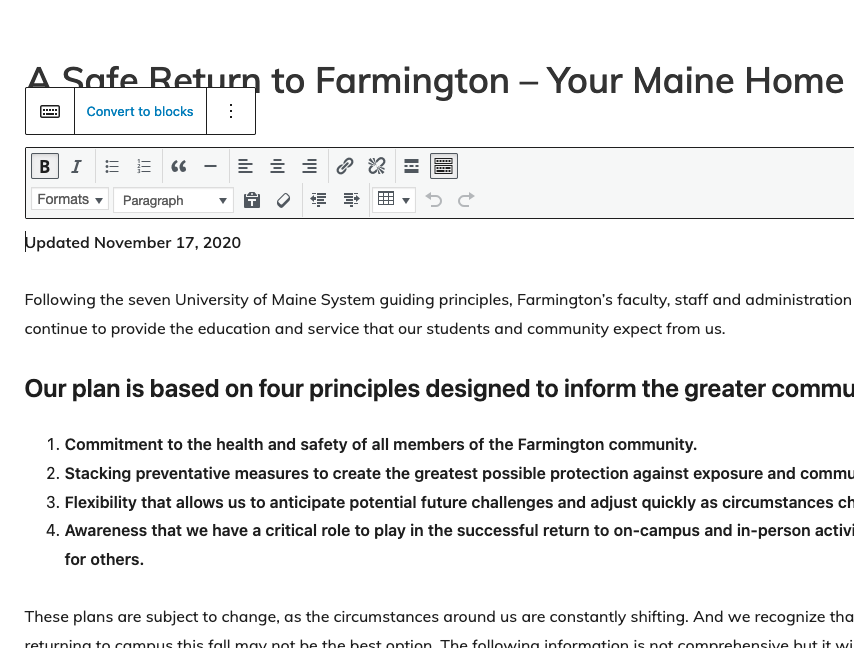
Convert a Classic Page >> Blocks
If you open a post/page that was created with the older TinyMCE / “Classic” editor, you will see a “Classic” label above the giant block. When you click on it, the TinyMCE editing controls will pop up and an option with “Convert to Blocks” will appear. Select that option and the page contents will convert to blocks. Each block is then editable individually.
Get Started with Gutenberg Blocks
Now we can add a variety of “blocks” to the page to quickly build out page elements…:
WordPress has moved away from using a Rich Text Editor for creating and organizing core page / post content to an inline block editing canvas. You will add blocks, widgets, and patterns onto the page wherever you want them. The page is still built and presented sequentially (top to bottom) but each block can be individually moved, edited, or configured separately. This makes for rich and efficient page building. From the Gutenberg Development Plugin description:
“The block editor introduces a modular approach to pages and posts: each piece of content in the editor, from a paragraph to an image gallery to a headline, is its own block. And just like physical blocks, WordPress blocks can added, arranged, and rearranged, allowing WordPress users to create media-rich pages in a visually intuitive way — and without work-arounds like shortcodes or custom HTML.”
WordPress Editor Basics (Recommendation: Spend 10 minutes and go through this page’s contents!)
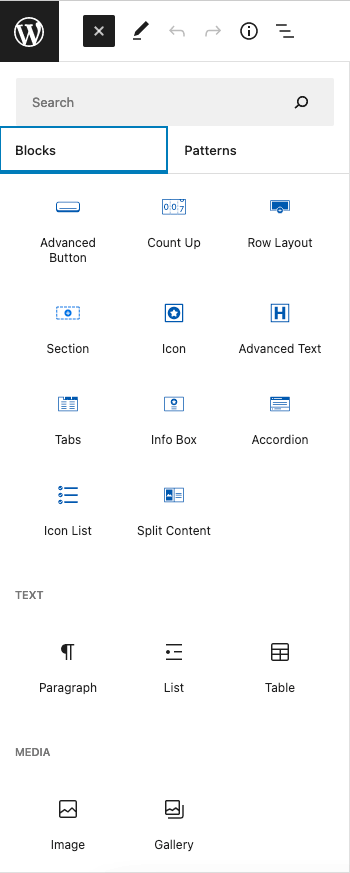
Additional Blocks Provided
The available Gutenberg blocks aren’t always the greatest and many plugin providers have designed packages of blocks that offer well-crafted, complex features and components for websites. For example, we have adopted and make heavy use of Kadence Blocks and features: https://www.kadenceblocks.com/custom-blocks/ We also have adopted specific additional form and carousel plugins from different providers.
Managing Available Blocks?
The quantity of available blocks can be overwhelming. We have done analyses of the various Gutenberg blocks and decided it best to hide blocks that are redundant or we have replaced with better blocks from plugin vendor(s). We developed software to limit the available blocks and patterns we and the campus team want their editors and admins to see / use. This is a superadmin right and must be set by the Webtech team. The settings here affect all sites. Visit the dedicated documentation on UMS Block Manager.
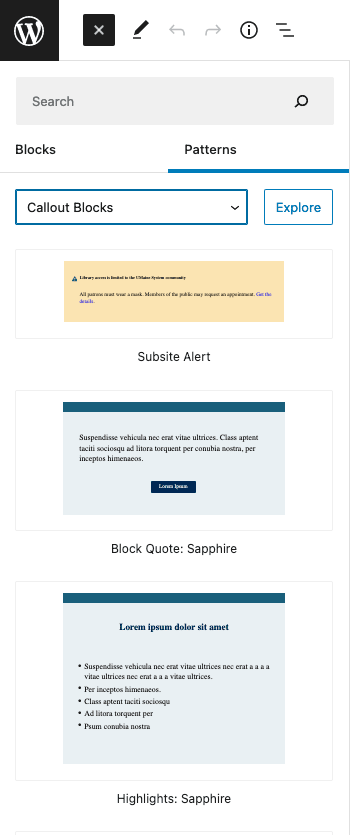
UMS Block Patterns
In addition to blocks, WordPress provides “Patterns” that can be added to pages. Patterns are combinations of blocks and block settings that achieve a desired presentation. We liked this feature but did not agree with the list of provided patterns. We created software to empower each campus to expose a dedicated set of patterns to their admins and editors. The patterns are developed by Web Technologies team in collaboration with campus web/marketing teams. Patterns can be organized into categories for easy location by editors for a desired presentation on their pages. Here is a look at the USM “Callout Blocks” opened category of block patterns:
If the “Patterns” tab is empty (or nearly empty), it indicates that no custom patterns have been created for your use.
Page (or Post) and Block Settings
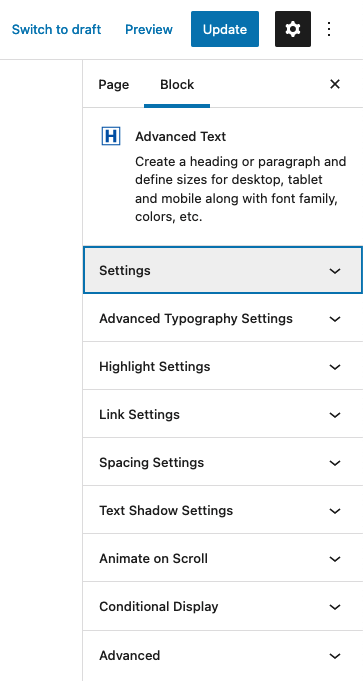
Use the GEAR icon / “Settings” option in the top-right corner to explore Page (or Post) and Block settings panels. Various panels often exist to control various aspects of the block, including spacing / padding, style and colors, typography, and much more. In the case below, the editor has activated the block settings while editing an “Advanced Text” block. Each block has its own set of (sometimes quite complex) settings. Due to this level of detail within many of the block settings, some campuses opt to use more patterns to ease the burden on editors and create more consistency from page to page, site to site when specific desired presentations are widely applicable.
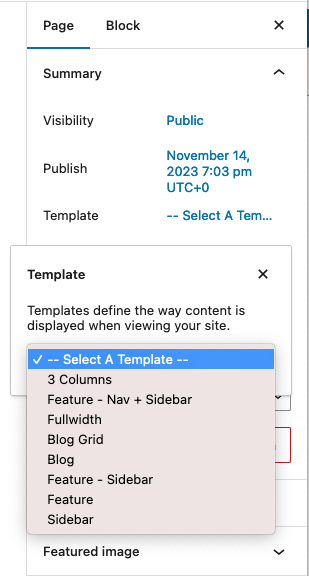
Alternatively, the “Page” (or “Post”) tab can be activated to access those settings. Here is a view of the Page Settings tab panels:
Editor Options and Preferences
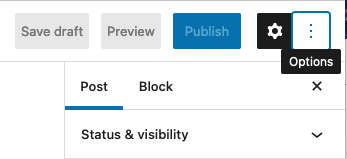
Access personal editor options and preferences using the “kebab” / 3-dots “Options” choice in the upper-right corner:
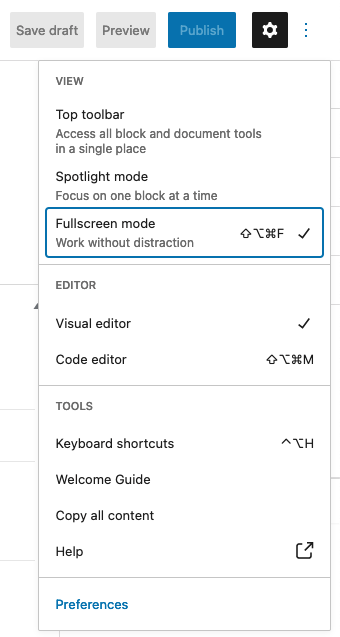
This allows you to choose to select a View Mode (I’m partial to fullscreen mode) and some helpful tips and resources:
Now dig further into the Preferences (final choice). This leads you to a series of important options.
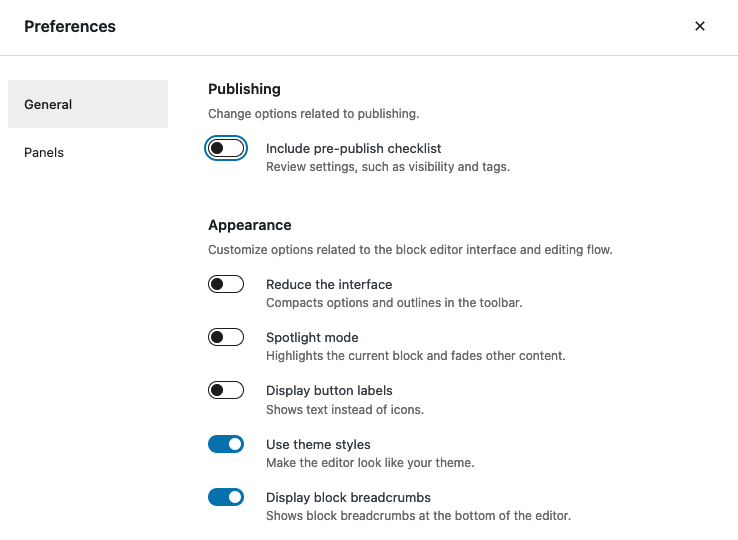
These are my personal preferences, though if you are new to WordPress block editing, you may prefer the pre-publish checklist and/or to “Display button labels.” We recommend leaving all panels exposed in case your campus is utilizing any of those features.
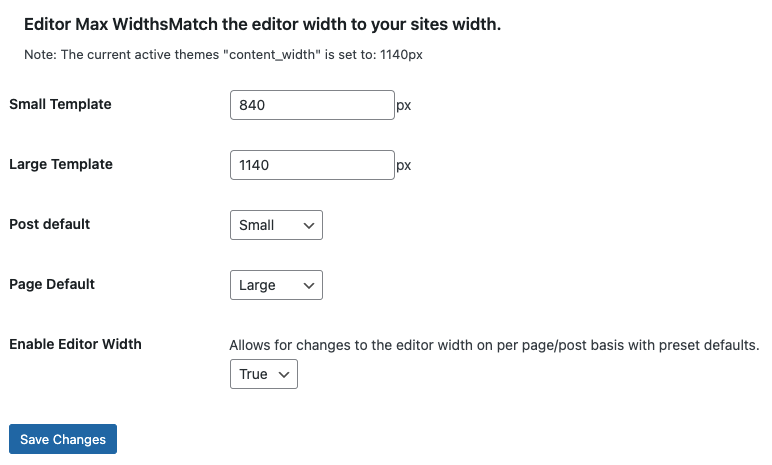
Editor Max-Widths for Devices (Working Canvas):
Kadence enables us to set up a working editor’s canvas for each site to more realistically present edited content as closely as possible to the actual page display a user might experience. Go to site dashboard > Kadence Blocks > Settings (at bottom). Recommended settings are shown: